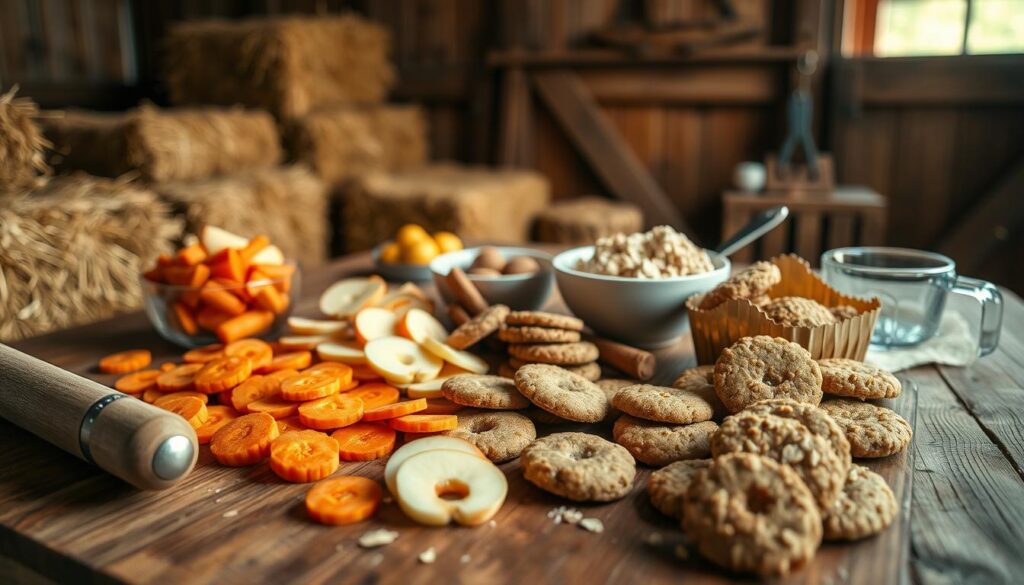
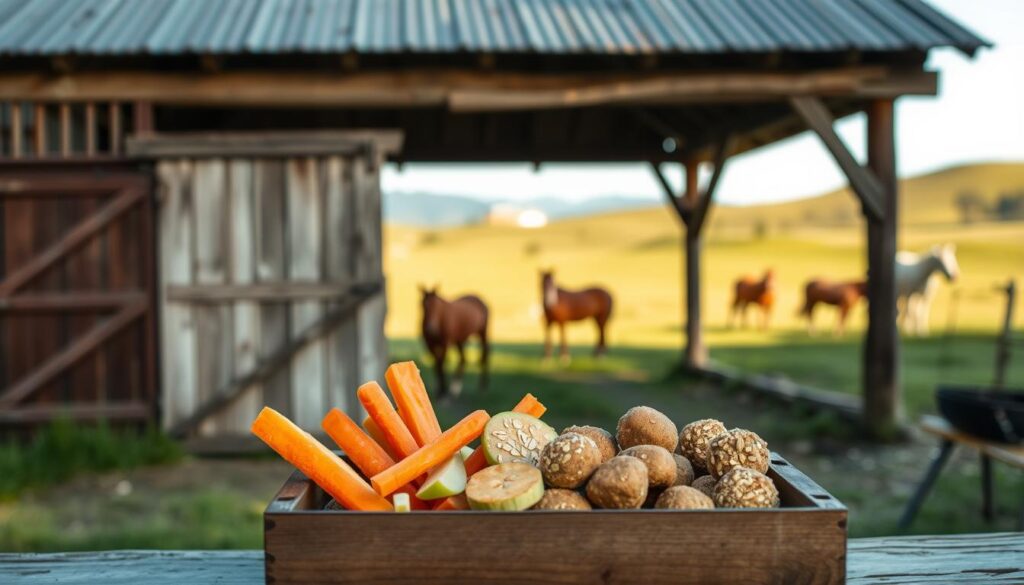
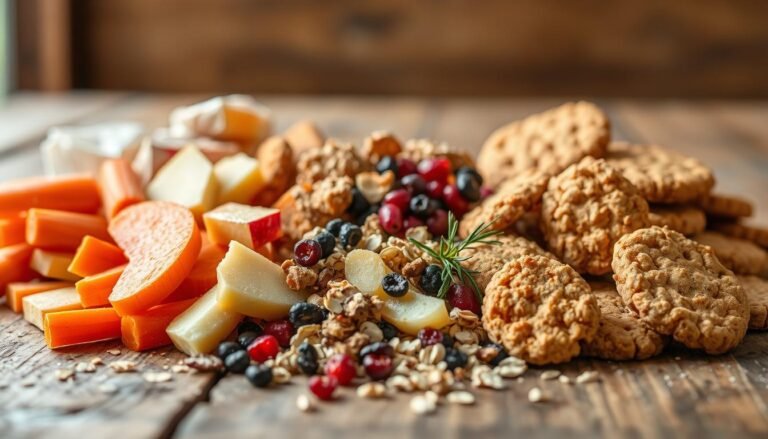
DIY Homemade Horse Treats Recipe :Making healthy snacks for your horse can be fun and rewarding. By creating your own horse goodies, you bond with your horse. You also make sure they get the nutrients they need.
Many horse owners have made their own homemade horse treats with great success. You can do the same. With just a few simple ingredients, you can make tasty and healthy snacks that your horse will enjoy.
Key Takeaways
- Create healthy snacks for your horse with simple ingredients.
- Bond with your horse through the process of making treats.
- Customize treats to meet your horse’s specific needs.
- Use homemade treats as a reward during training.
- Store your homemade treats properly to maintain freshness.
Benefits of Making Your Own Horse Treats
Making your own horse treats is more than just a fun activity. It improves your horse’s health and strengthens your bond. You can make sure your horse gets the best snacks, made just for them.
Healthier Ingredients for Your Horse
One big plus of making your own treats is controlling what goes into them. Many store-bought treats have bad stuff like preservatives and too much sugar. These can harm your horse. Using fresh, natural ingredients makes treats that are tasty and good for your horse.
Key benefits of healthier ingredients include:
- Reduced risk of allergies and sensitivities
- Improved digestion and overall health
- Enhanced flavor and palatability
Cost-Effective Treat Alternatives
Homemade treats are also cheaper than buying them. You can save money by buying ingredients in bulk and making lots at once. “Homemade treats can be a budget-friendly way to reward your horse,” say equine nutritionists.
Customization for Your Horse’s Preferences
Every horse is unique, with their own likes and needs. Making your own treats lets you pick the ingredients and flavors your horse will love. This makes treats more fun for your horse and keeps them safe from bad ingredients.
“The ability to tailor treats to a horse’s specific needs is a significant advantage of making homemade horse treats.”
By thinking about your horse’s likes and needs, you can make treats that are fun and healthy for them.
Essential Ingredients for DIY Horse Treats
Choosing the right ingredients is key to making healthy DIY horse treats. It’s important to pick items that taste good to your horse and are good for them.
Common Bases for Horse Treats
The base of your treats is important for their health and taste. Here are some common bases:
- Oats: Oats are full of fiber and easy to digest. They make a great base for treats.
- Flour: Make sure your horse isn’t allergic to it. Flour is a good base for many recipes.
- Carrots and Apples: They add sweetness and moisture. Sometimes, they’re the main ingredient in recipes.
Natural Flavor Additions
Adding natural flavors can make your treats more appealing. Here are some ideas:
- Carrots: Grated or cooked, they add a sweet flavor.
- Apples: Chopped apples bring a fresh taste.
- Molasses: A bit can add sweetness without refined sugars.
Essential Nutritional Components
Adding important nutrients can boost your treats’ health benefits. Here are some key ones:
- Molasses: It’s full of minerals, adding nutritional value.
- Omega-3 fatty acids: Ingredients like flaxseed support skin and coat health.
- Vitamins and minerals: Add specific ones to meet your horse’s dietary needs.
By picking the right ingredients, you can make treats that are both healthy and tasty. They’ll be a great addition to your horse’s diet.
Simple DIY Horse Treat Recipes
You can make tasty treats for your horse with just a few ingredients. Making treats at home means you know exactly what’s in them. This way, you can make sure they’re healthy and fit your horse’s tastes and needs.
Apple Carrot Horse Treat Recipe
This recipe mixes apples’ sweetness with carrots’ crunch. Horses love it. Here’s what you need:
- 2 apples, diced
- 1 cup of grated carrots
- 2 cups of oats
- 1/4 cup of molasses
Combine all the ingredients to make a dough. Roll it out and use cookie cutters for fun shapes. Bake at 350°F for 25 minutes.
Peanut Butter Horse Treats Recipe
Horses adore peanut butter, and oats make it filling. You’ll need:
- 1 cup of peanut butter
- 2 cups of oats
- 1/4 cup of honey
Blend peanut butter and honey until smooth. Add oats slowly until a dough forms. Roll it out, cut into shapes, and bake at 350°F for 20 minutes.
Oat and Molasses Treats Recipe
Oats and molasses are a great combo for horse treats. They’re sweet and wholesome. Here’s what you need:
- 2 cups of oats
- 1/4 cup of molasses
- 1 cup of flour
Mix oats and flour, then add molasses. Roll it out, cut into shapes, and bake at 350°F for 25-30 minutes.
These homemade horse treat ideas are not only tasty but also customizable. By making your own treats, you ensure your horse gets healthy snacks made with care.
Tools Needed for Homemade Treats
To make homemade horse treats, you’ll need some key tools. These tools make the process easier and help you create treats your horse will enjoy.
Baking Essentials for Treats
For baking horse treats, you’ll need basic items. These include:
- A large mixing bowl to combine ingredients
- A measuring cup and spoons for accurate measurements
- A baking sheet with parchment paper to prevent sticking
- A mixing spoon or electric mixer for blending
A well-organized baking station makes treat-making fun and efficient. Having all tools ready lets you focus on making tasty, healthy treats for your horse.

Storage Solutions for Freshness
After baking, it’s key to store treats right to keep them fresh. Use:
- Air-tight containers for freshness
- Zip-top bags or plastic wrap to keep moisture out
- A cool, dry place for storage, away from sunlight
Proper storage keeps your homemade horse treats fresh and safe for your horse. Remember, “A treat is only as good as its storage.”
Tips for Perfecting Your Treats
To make the best DIY homemade horse treats, follow some key tips. These tips help make sure your horse gets healthy and tasty snacks.
Measuring Ingredients Accurately
Measuring ingredients accurately is a must for making easy homemade horse snacks. It ensures your treats are the right consistency and have the right nutrients. Use a digital scale for exact measurements. Always level off dry ingredients to avoid mistakes.
Ensuring Uniform Sizes
Uniform treat sizes are not just good-looking; they also help your horse get the right amount of food. This is key for training and keeping a balanced diet. Cookie cutters can help make treats the same size, making them look great and appealing.
Baking Time Considerations
Baking time is very important when making homemade horse treats. If you bake them too long, they can become hard or burnt. If you don’t bake them enough, they might be too soft or soggy. Watch your treats closely while they bake and adjust the time as needed.
By following these tips, you can make your DIY homemade horse treats recipe perfect. Your horse will enjoy healthy, tasty snacks that you made with love and care.
Storing Your Horse Treats
Keeping your homemade horse treats fresh is key. You put a lot of effort into making healthy snacks for your horse. So, you want them to stay safe and tasty.
Best Practices for Freshness
Store your treats in airtight containers to keep them fresh. This stops moisture and pests from getting in. Also, keep the containers in a cool, dry spot, away from sunlight.
Choosing the right containers is important. Look for ones made for food or treats. They should be safe and seal tightly to keep treats fresh.

Freezing Homemade Treats
Freezing is great for long-term storage. It keeps the treats fresh without losing their nutritional value or taste. Just put them in an airtight container or freezer bag, squeezing out air before sealing.
When you want to use the frozen treats, thaw them at room temperature or in the fridge. Always check for spoilage before giving them to your horse, even if they’re stored right.
Shelf Life of Different Recipes
The shelf life of your treats depends on the ingredients. Treats with fresh fruits and veggies last shorter than those with oats, molasses, or dry ingredients.
| Treat Type | Shelf Life (Room Temperature) | Shelf Life (Refrigerated) | Shelf Life (Frozen) |
|---|---|---|---|
| Fruit and Veggie Treats | 1-3 days | 5-7 days | 2-3 months |
| Oat and Molasses Treats | 5-7 days | 2 weeks | 3-4 months |
| Peanut Butter Treats | 5-7 days | 2 weeks | 3-4 months |
Knowing how long your treats last is important for your horse’s health. Always check for spoilage before giving them to your horse, no matter the storage method.
Treats for Specific Needs
You can make horse treats that taste great and help with health issues. Many horses need special diets. Homemade treats can meet these needs.
Low-Sugar Options
Horses with metabolic issues or weight concerns need low-sugar treats. Use unsweetened applesauce and natural peanut butter to cut sugar. Here’s a simple recipe:
- 1 cup unsweetened applesauce
- 1/2 cup natural peanut butter
- 2 cups whole wheat flour
Mix these ingredients, roll out the dough, and cut into shapes. Bake at 350°F for 15-20 minutes.
High-Fiber Treats for Digestion
High-fiber treats help digestion and gut health. Use oats and psyllium husk for fiber. A simple recipe includes:
- 2 cups rolled oats
- 1/4 cup psyllium husk
- 1 cup grated carrots
Combine these ingredients, add water to bind, and shape into balls. Bake at 325°F for 25-30 minutes.
“A well-balanced diet with high-fiber treats can greatly improve a horse’s digestive health.”
Allergy-Friendly Treats
For horses with allergies, avoid common allergens like moldy hay or certain grains. Use hypoallergenic ingredients like rice flour and apples. Here’s a recipe:
- 2 cups rice flour
- 1 cup grated apples
- 1/4 cup honey
Mix these ingredients, shape into desired forms, and bake at 350°F for 20-25 minutes.
By making your own horse treats, you can ensure your horse gets the right nutrients. Avoid harmful ingredients. Always talk to a vet before adding new treats to your horse’s diet.
Fun Shapes and Presentation Ideas
Make homemade horse treats more fun with the right shapes and presentation. This can make the treat-giving experience even more enjoyable.
Using Cookie Cutters
Cookie cutters are a simple way to make treats fun. You can find shapes like horses, stars, and hearts. Make sure they are clean and dry before using them.
Creative Packaging for Gifts
For gift-giving, try creative packaging. Use decorative bags, jars, or make your own with paper and ribbons. Adding a label with ingredients is a nice touch, too.
Decorating Ideas for Treats
Decorating treats can make them extra special. Use carrots, apples, or oats for simple designs. For a festive look, try edible flowers or colored yogurt (if your horse can have dairy).
| Decoration Idea | Ingredients Needed | Tips |
|---|---|---|
| Carrot and Apple Design | Carrots, Apples, Oats | Use grated carrots and sliced apples to create patterns. |
| Edible Flowers | Edible flowers (ensure they are safe for horses) | Place flowers on top of treats before baking or after cooling. |
| Colored Yogurt | Yogurt, Food coloring (if needed) | Drizzle yogurt over cooled treats for a decorative touch. |
How to Introduce New Treats to Your Horse
Introducing new treats to your horse’s diet can be good. But, it’s key to do it slowly. This slow approach helps avoid upset stomachs and lets your horse enjoy the treats safely.
Gradual Introduction Techniques
Start by giving your horse a small amount of the new treat. Watch them closely for any signs of trouble or allergies. Slowly add more treats over a few days to help their stomach get used to it.
Step-by-Step Introduction Guide:
- Day 1-2: Offer a small piece of the new treat.
- Day 3-4: Increase the amount slightly if no adverse reactions are observed.
- Day 5 and beyond: Continue to gradually increase the treat amount as needed and under observation.
Observing Your Horse’s Reactions
It’s important to watch how your horse reacts to new treats. Look for signs like diarrhea or colic, and changes in behavior. If you see any bad reactions, stop the treat right away and talk to a vet if needed.
| Signs of Adverse Reaction | Action to Take |
|---|---|
| Diarrhea or colic | Discontinue the treat and consult a veterinarian. |
| Behavioral changes | Monitor closely and adjust or discontinue the treat. |
| No reaction | Continue with gradual introduction. |
Ensuring Healthy Treat Consumption
To keep treats healthy for your horse, don’t overdo it. Treats should not be more than 10% of their daily calories. Also, think about what nutrients the treats have and make sure they fit with their regular food.
Tips for Healthy Treat Consumption:
- Limit treats to less than 10% of daily calories.
- Choose treats that complement your horse’s nutritional needs.
- Avoid overfeeding treats to prevent weight gain and other health issues.
Horse Treats and Training
Using homemade horse treats in training can help reinforce good behavior. These treats let you control what goes into them. This ensures they’re healthy and right for your horse’s diet.
Positive Reinforcement with Treats
Homemade treats are great for positive reinforcement during training. Give your horse a treat right after they do something good. This encourages them to do it again. It works best when your horse loves the treats you make at home.
Best Practices for Training Sessions
It’s key to balance treats with your horse’s regular food. Too many treats can upset their diet. Homemade treats help you reward your horse without harming their health.
Balancing Treats with Diet
Make sure treats don’t make up more than 10% of your horse’s daily calories. This way, you can reward them without affecting their nutrition.


Hello. And Bye.